

What specifically has changed and why? for FMOS GEN III version 9.X
There are several things that are different with the Gen III platform:
Immutable Root Filesystem
- What? We no longer distribute FMOS as a set of independent packages. The OS is an image that is overwritten on upgrades in its entirety.
- Why? There are several advantages that this provided:
- If the upgrade is interrupted at any time, then the system can be stuck in a “half upgraded” state. This requires a reinstall and can be very painful. This has happened in the field several times. Especially in large environments. Making it immutable makes sure that it either installs or doesn’t. It’s a replace, not an upgrade.
- Second, since we are now just replacing the OS with a newer image, the upgrade process takes seconds to complete instead of minutes. This is the FMOS portion of the upgrade, so there is still the application updates that still need to occur.
- Third, this process also allows us to feel more comfortable with upgrade testing, since we don’t have to worry about many variations of version x -> version y testing, since it’s a complete replace. We only have to make sure that the new version works successfully.
- Fourth, allows for FMOS to perform a “Factory Restore”. If a customer needs to get their server back to the original state, they can do that, since we can just do a complete replace of the OS.
New Distribution Method
-
- What? We are moving away from using rpms and yum to manage the packages that we distribute in FMOS. There are a few ways that we will distribute our products:
- Updates - Removing yum and rpms and moving to using a signed tape archive (“tarball”). This is a much simpler way to package any of the components necessary for an update. This new archive can be retrieved automatically (using the same “fmos update” process) or it can be transferred to a server manually using a file system path. The advantage for this one is that it contains only what’s necessary, so it doesn’t have to be the large ISO file used today.
- Installs – We will continue to generate ISOs for new physical hardware installs.
- Virtual Environments – Both OVF and QCOW2 images will be available to be used within virtual environments for new installs.
- Cloud – Azure VHD images will be available to hand out to customers. We are looking at the next step of making available within the Marketplace, but for now they can be distributed for customers wanting to install in Azure.
- Why? The advantages to changing how we distribute helps us in several ways. First, it greatly simplifies our build process, which allows us to do this quicker and with fewer internal issues. Second, it allows for multiple deployment/installation methods.
- What? We are moving away from using rpms and yum to manage the packages that we distribute in FMOS. There are a few ways that we will distribute our products:
Build Variants
Every FMOS version is produced in multiple variants. Each variant is designed to serve a specific purpose. When installing FMOS on a new machine, be sure to select the proper variant:
- Full: This is the default variant. It contains all of the Security Intelligence Platform application components, including the Security Manager server, the Data Collector, Global Policy Controller, and all supporting software such as PostgreSQL and Elasticsearch.
- DC Only: This variant only contains the Data Collector application component for the Security Intelligence Platform.
- Cloud: This variant is intended to be used for Cloud deployments, such as Microsoft Azure or Amazon Web Services. It contains all of the Security Intelligence Platform application components and all supporting software.
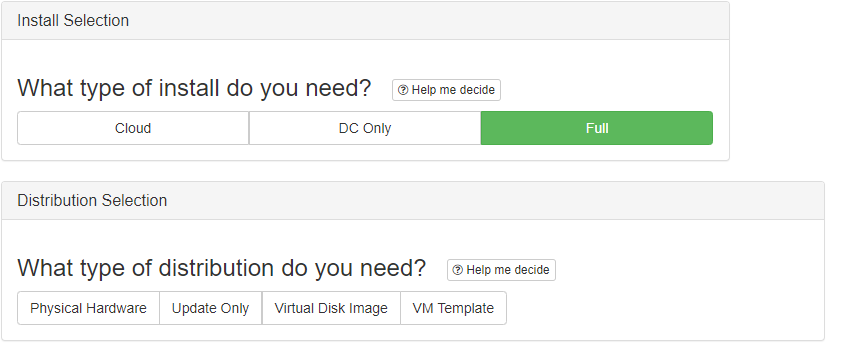
Distribution Formats
Each FMOS build variant is distributed in multiple formats. The various formats are designed to support different deployment environments or scenarios:
-
- FMOS Distribution Archive (
.tar.gpg) [all variants]: This format is used by all FMOS variants for upgrading an existing installation of FMOS to a new version. When upgrading, be sure to use the Distribution Archive for the same variant that is already installed. - Virtual Machine Template (
.ova) [full, dconly]: This format is used to deploy a new virtual machine, for example using VMware vSphere, Microsoft Hyper-V, or Oracle VirtualBox). - Virtual Disk Image (
.qcow2) [full, dconly]: This format is used to deploy a new virtual machine, for example using Linux KVM (with libvirt/QEMU) or OpenStack. - Physical Hardware Installer (
.iso) [full, dconly]: This format is used to install FMOS on a physical machine, such as a FireMon appliance. - Azure Virtual Disk Image (
.vhd.zip) [cloud]: This format is used to create a new Virtual Machine Image in Windows Azure. - AWS Virtual Disk Image (
.vmdk) [cloud]: This format is used to create a new Amazon Machine Image in Amazon Web Services.
- FMOS Distribution Archive (
How to Update your FireMon server
Caution! During the update process, all FireMon Security Intelligence Platform components will be stopped, and connectivity will be terminated. Please consider updating your product during periods of low product use to minimize the effects of this loss of connectivity.
Prerequisite for v8.24 Users and older: If you are upgrading from a version that is three ( or more) behind current, please contact support@firemon.com
Prerequisite for v8.25 Users: you will need to perform a backup of your existing 8.25 installation, move that backup ‘off box’, perform Fresh install of v9.x, and then restore 8.25 backup onto the Fresh 9.x installation. Instructions are provided below.
Prerequisite for v8.26 Users: If you are upgrading from v8.26, a fresh install with a previous backup restore is not needed. You can follow the normal upgrade process.
Prerequisite for v9.x Users: If you are upgrading from v9.x, a fresh install with a previous backup restore is not needed. You can follow the normal upgrade process
Pre-Upgrade Backup Procedure: To create a backup and move it "off box" follow these steps:
- Access the appliance CLI.
- At the command prompt, type: fmos backup. The backup is stored in the following location: /var/lib/backup/firemon
- You can use SFTP to move the backup 'off box' to be stored on another server.
Post-Upgrade Restore Procedure: To restore the backup once Fresh install has been completed, follow these Steps:
- Access the appliance CLI.
- SCP or SFTP your Backup to either /var/tmp or /var/lib/backup/firemon
- At the command prompt, type fmos restore <path & filename>. Replacing <path & filename> with the location of your backup.
- Follow the prompts to finish the restore process.
How to obtain the FMOS ISO
Prerequisite for v8 Users: In order to download the version 9.X software your Existing Version 8 License Must be converted to a Version 9 License please contact Support or your Account Rep. to Assist.
Follow Link to the Download section from UserCenter in order to get latest image:
https://usercenter.firemon.com/Downloads
To update your FMOS server, complete the following steps.
- Log on to the User Center.
- Click Downloads.
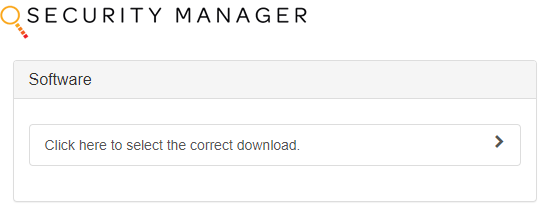
- In the Artifact section, you'll find the wizard to select the type of FMOS file (Linux FireMon Server v9.x.x).
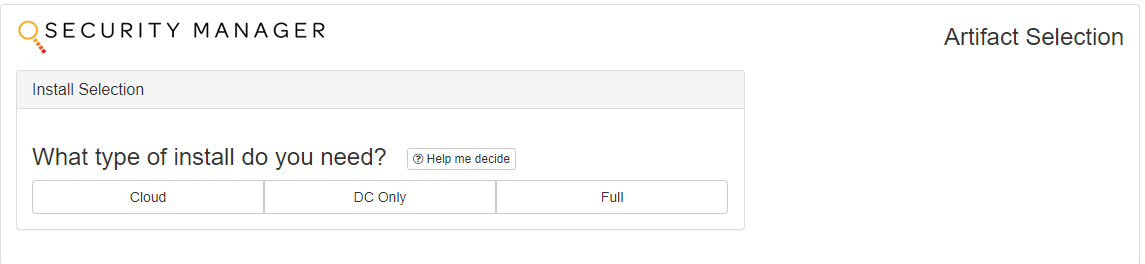
- In the Install Selection, you will find the type of installation and type of distribution
- For a single-server environment, download the ISO image and copy it to your application server using SFTP or similar transfer method. For a distributed environment, download the ISO image to your database server.
Note: After downloading the ISO image should be copied to /var/tmp and then use that path in the fmos update command.
Access the appropriate FireMon server (either application server or database server).
At the prompt, type the following command:
For existing 9.x users who have set the update channel: fmos update
For users not updating from v9.x: fmos update /var/tmp/<filename> (replacing <filename> with the name of the ISO file downloaded).
You will be guided through the update process.
You will be asked to reboot the server. Type "Y" at the prompt to start the reboot process.
For a single-server environment, repeat the steps to update any data collectors. For a distributed environment, repeat the steps to update the application server (if you have multiple applications servers, update each one-at-a-time and reboot each individually) and then data collectors.
For a distributed environment, there is a specific server order to install the update.
- Database Server
- Application Server
- Data Collector
For a single-server environment, install the update on the application server first and then any data collectors.
Prerequisite: Shutdown your application server. At the prompt, type the following command: fmos maintenance begin
- Access the appropriate FireMon server (either application server or database server).
- At the prompt, type the following command, replacing <filename> with the name of the ISO file you downloaded.*
-
fmos update <filename>.iso
- You will be guided through the update process.
- You will be asked to reboot the server. Type "Y" at the prompt to start the reboot process. The appliance must be rebooted in order to use the new image.
- For a single-server environment, repeat the steps to update any data collectors. For a distributed environment, repeat the steps to update the application server (if you have multiple applications servers, update each one-at-a-time and reboot each individually) and then data collectors.
*If the FMOS Update command will be run from a directory other than the directory the ISO file has been copied to, you will need to run the following command instead.
fmos update /absolute/path/<filename>.iso
For users not updating from a v9.x version: After installing any v9.x, refer to the FMOS User's Guide's topic Set the FMOS Update Channel.
After installation note: After installing v9.x, refer to the FMOS User's Guide's topic Set the FMOS Update Channel.
https://usercenter.firemon.com/Documentation
.
Update Notifications
The User Center has an RSS feed available for Security Intelligence Platform v9 releases and documentation. If you would like to subscribe to this feed, you can find it on the Downloads page.
Comments
0 comments
Please sign in to leave a comment.